Photos from your services, outreach and fellowship meetings bring your church page to life. The Gallery in The Worship shows your best photos in a carousel on your church feed, so members and visitors can see what church life looks like. This guide shows you how to upload photos, put them in order and hide or remove them.
Before you start
- Who can do this: church admins, and staff whose role includes gallery permissions (for example a "Media Team" role).
- What you need: photos in JPG, PNG or WebP format, up to 5 MB each.
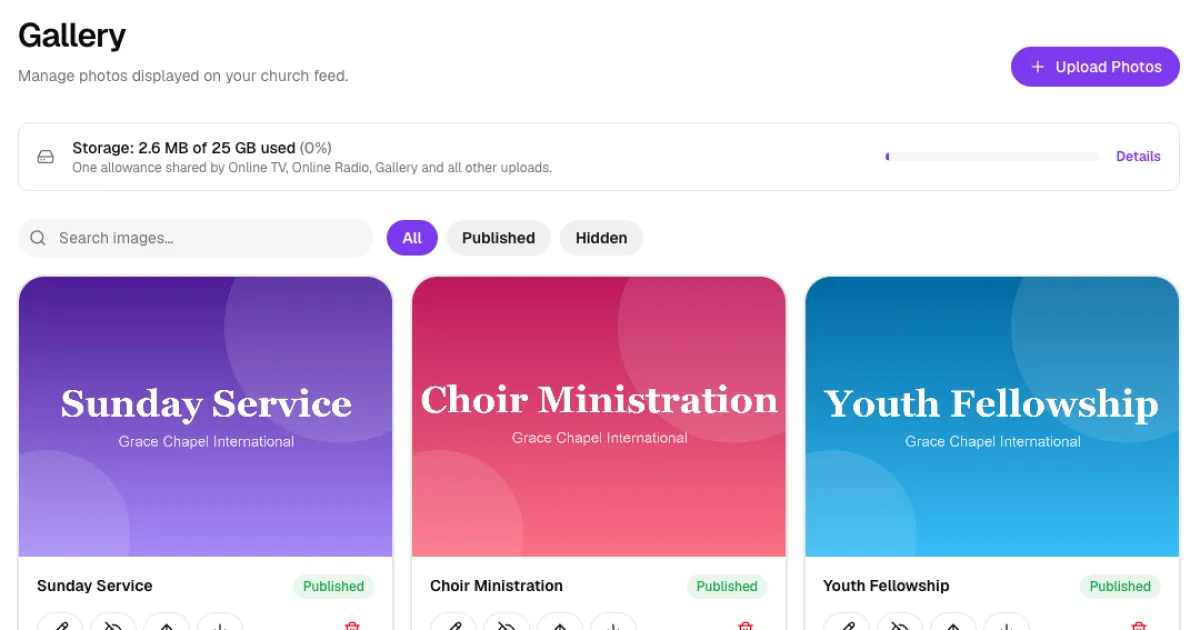
- Good to know: photos use your church's storage allowance. The storage bar at the top of the Gallery page shows how much you have used.
Step 1: Open the Gallery
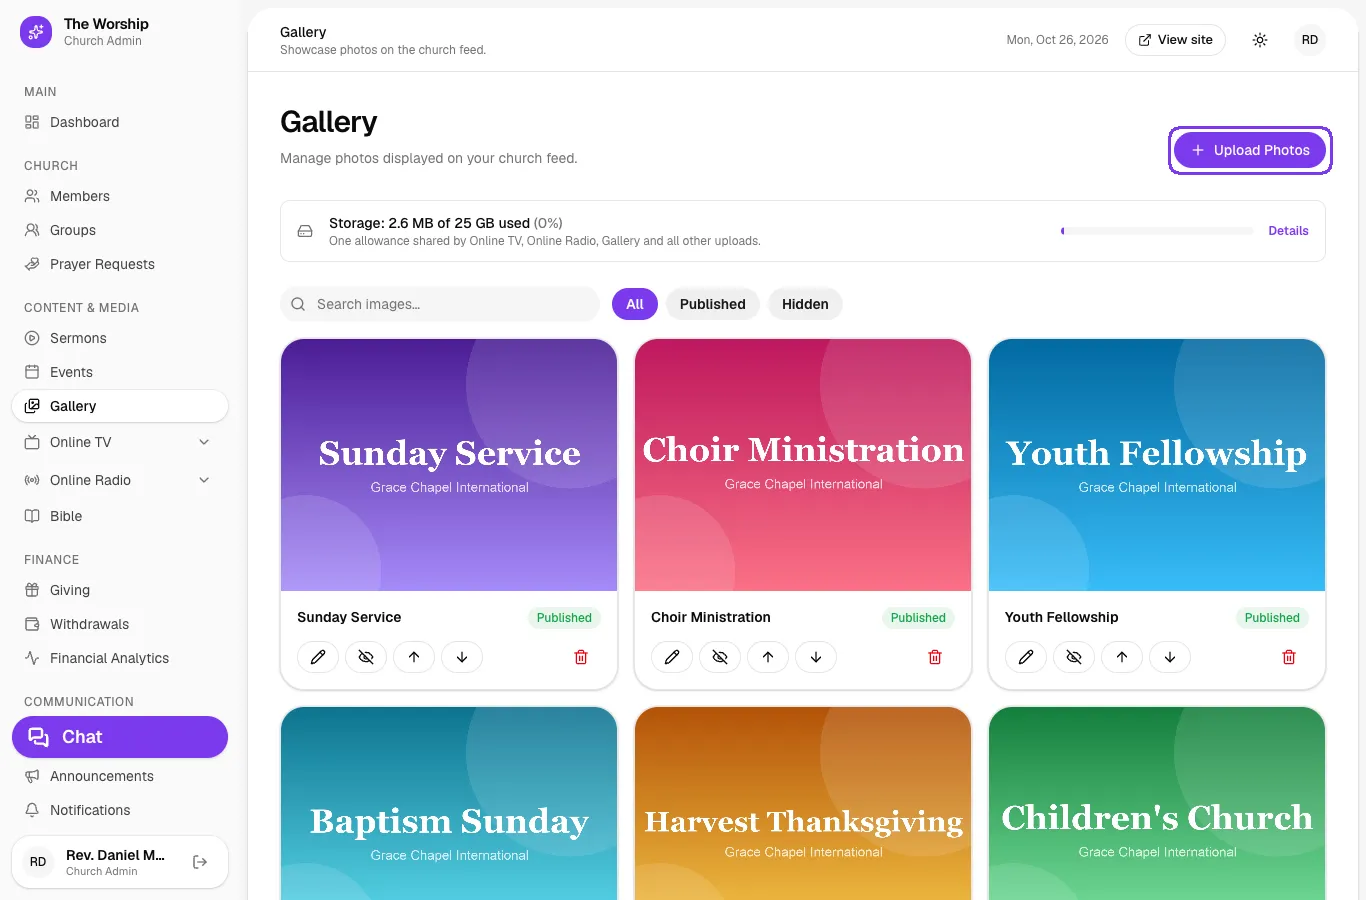
In the left menu, go to Content & Media → Gallery. You will see all your photos as cards, each with a title and a Published or Hidden label. Click Upload Photos at the top right.
Step 2: Choose your photos and give them titles
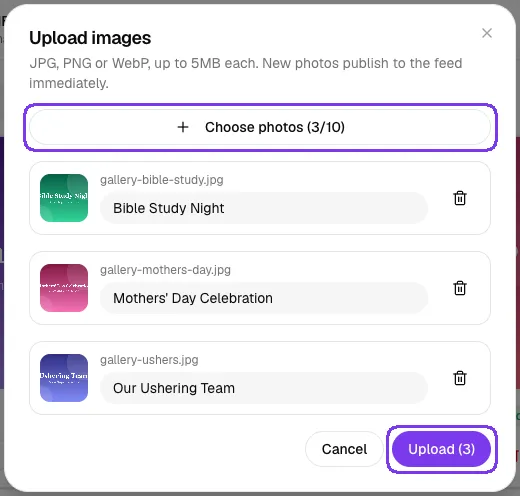
- In the Upload images window, click Choose photos and select up to 10 photos at once.
- Each photo appears in a list with a Title (optional) box. Type a short title such as "Bible Study Night". Members see this title under the photo.
- Picked the wrong photo? Click the bin icon next to it to remove it from the list.
- Click Upload. The number in brackets shows how many photos will be uploaded.
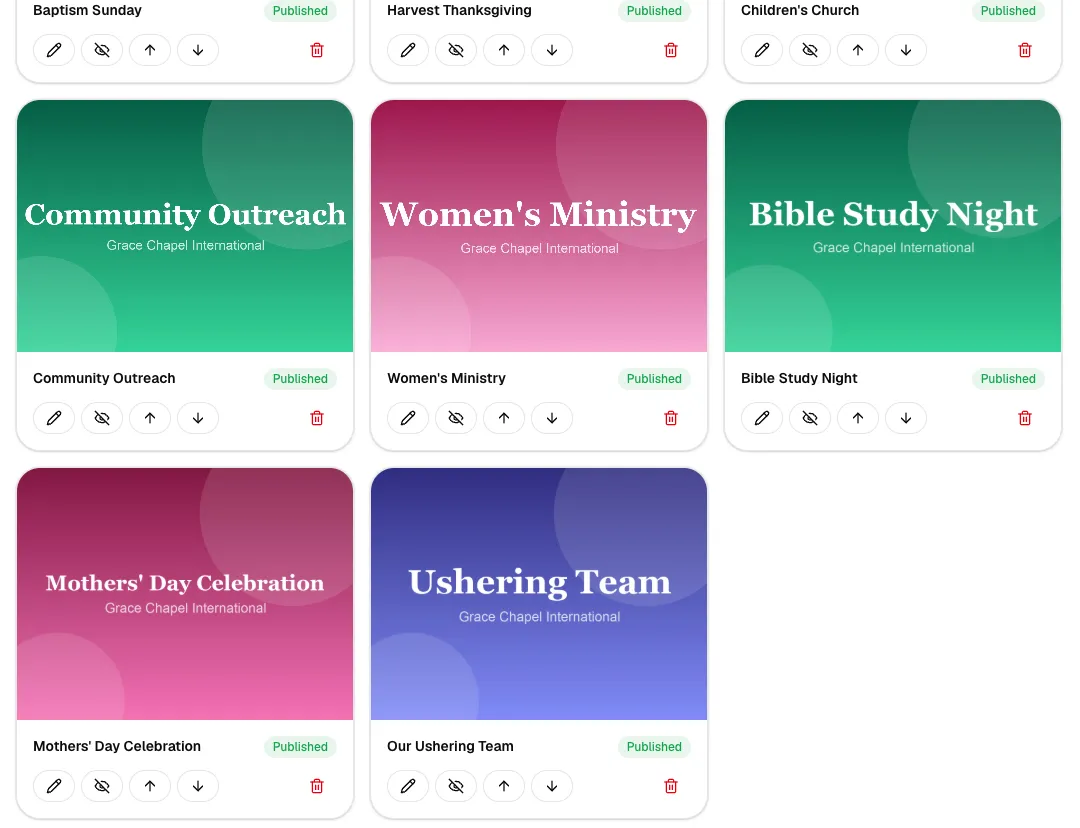
New photos are published to your church feed straight away and are added to the end of your gallery.
Step 3: Put your photos in order
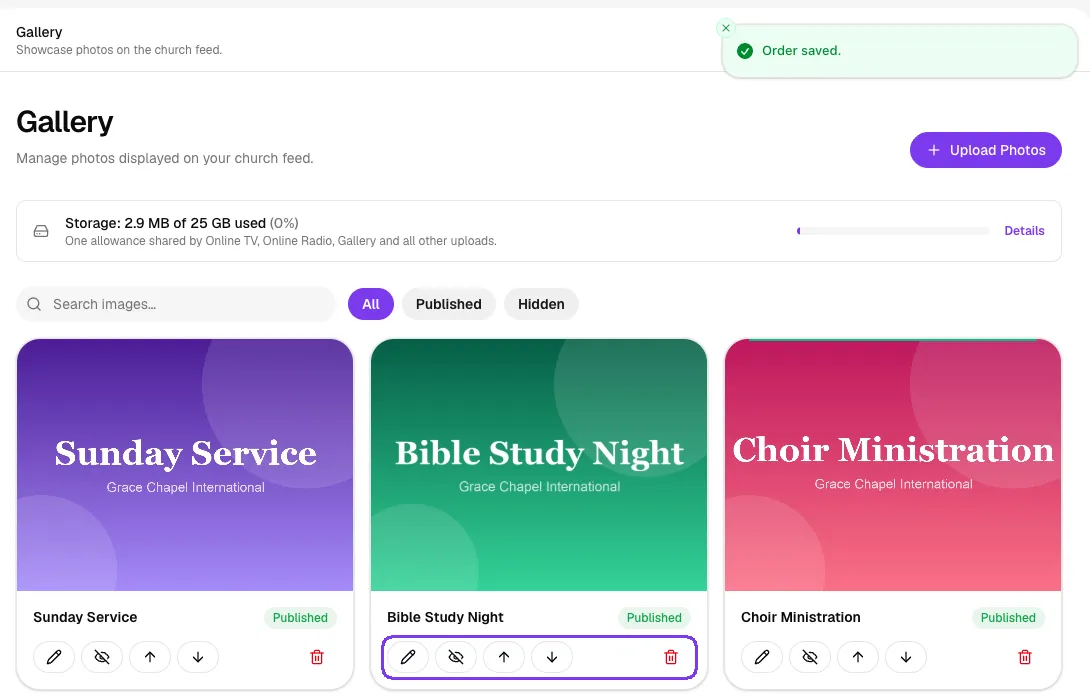
The order on this page is the order members see in the carousel. Each card has a row of buttons:
- Pencil: edit the photo's details.
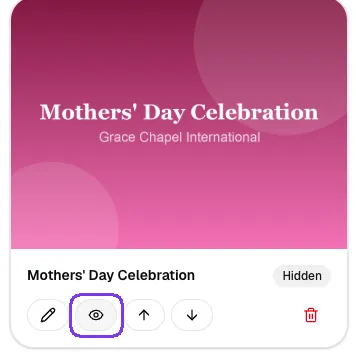
- Eye: hide the photo from the feed, or publish it again.
- Up arrow and down arrow: move the photo earlier or later in the gallery.
- Red bin: delete the photo.
Click the up arrow to move a photo towards the front. Each move is saved straight away, and you will see Order saved. You can also drag a card to a new position.
Step 4: Add a description and alt text
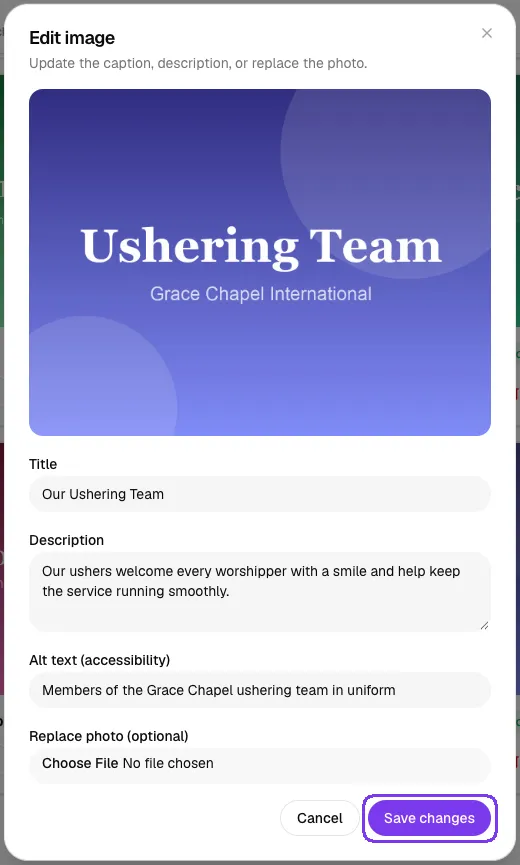
Click the pencil on a photo to open Edit image. Here you can:
- Change the Title.
- Add a Description. Members see it when they open the photo.
- Add Alt text (accessibility): a short description of what is in the photo, for people who use screen readers. It also helps search engines understand your pictures.
- Use Replace photo (optional) to swap the picture while keeping its place in the gallery.
Click Save changes when you are done.
Step 5: Hide or delete a photo
To take a photo off the feed without deleting it, click the eye button. The label changes to Hidden, and the button becomes Publish to feed so you can bring it back later. This is useful for seasonal photos, such as Christmas or Easter pictures.
To remove a photo for good, click the red bin and confirm. This cannot be undone.
Use the All, Published and Hidden filters, or the search box, to find photos quickly in a large gallery.
Step 6: See the gallery on your church feed
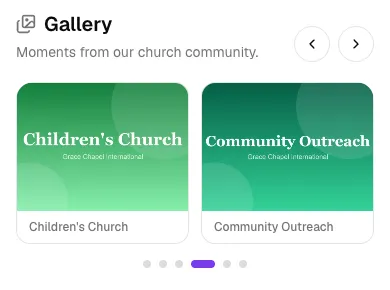
Members see your published photos in the Gallery section of your church feed. They can swipe through the carousel or use the arrows, and tap any photo to see it larger with its title and description.
Tips
- Put your best and most recent photos first. The first few are what people see without swiping.
- Use landscape photos where possible; they fill the carousel cards nicely.
- Large photos from new phones are big files. If you are near your storage limit, delete old photos you no longer need.
- Ask permission before posting close-up photos of children and visitors.
Troubleshooting
"Upload failed. Check file types (JPG, PNG, WebP, max 5MB)."
One of your photos is too large or is not a supported type. HEIC photos from iPhones and PDF files are not accepted. Export the photo as JPG, or send it to yourself on WhatsApp and save it again, then try once more.
My photo is not showing on the church feed
Check that the photo's label says Published. If it says Hidden, click the eye button to publish it. The Gallery section only appears on the feed when at least one photo is published.
Can I upload more than 10 photos?
Yes, just do it in batches. Choose up to 10 photos, upload them, then click Upload Photos again for the next set.