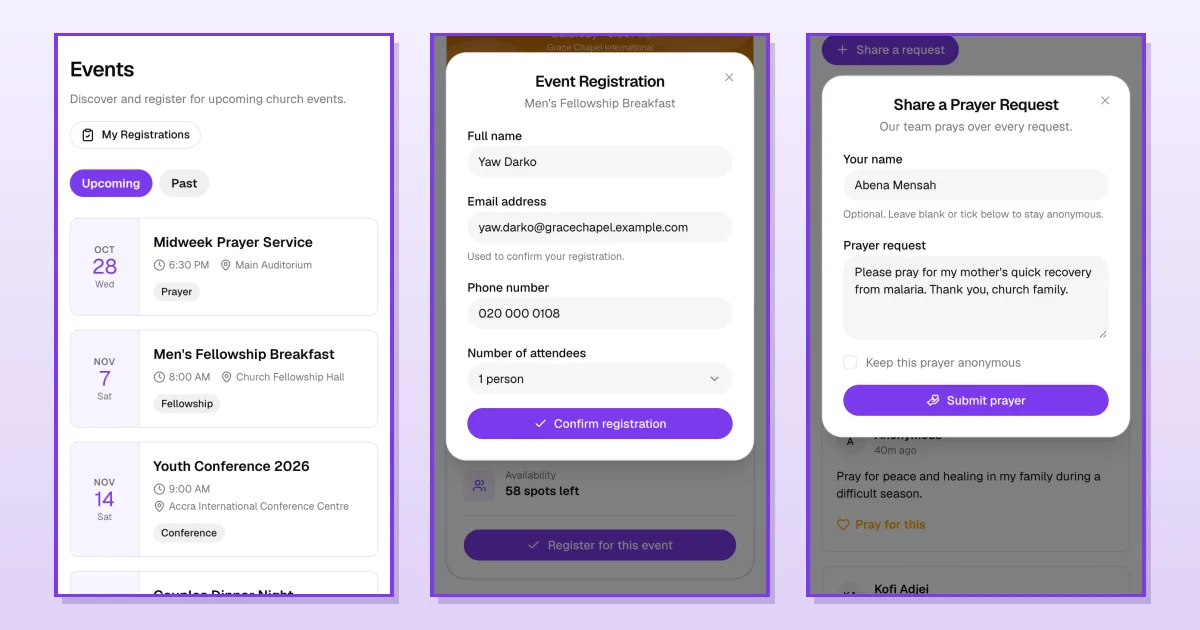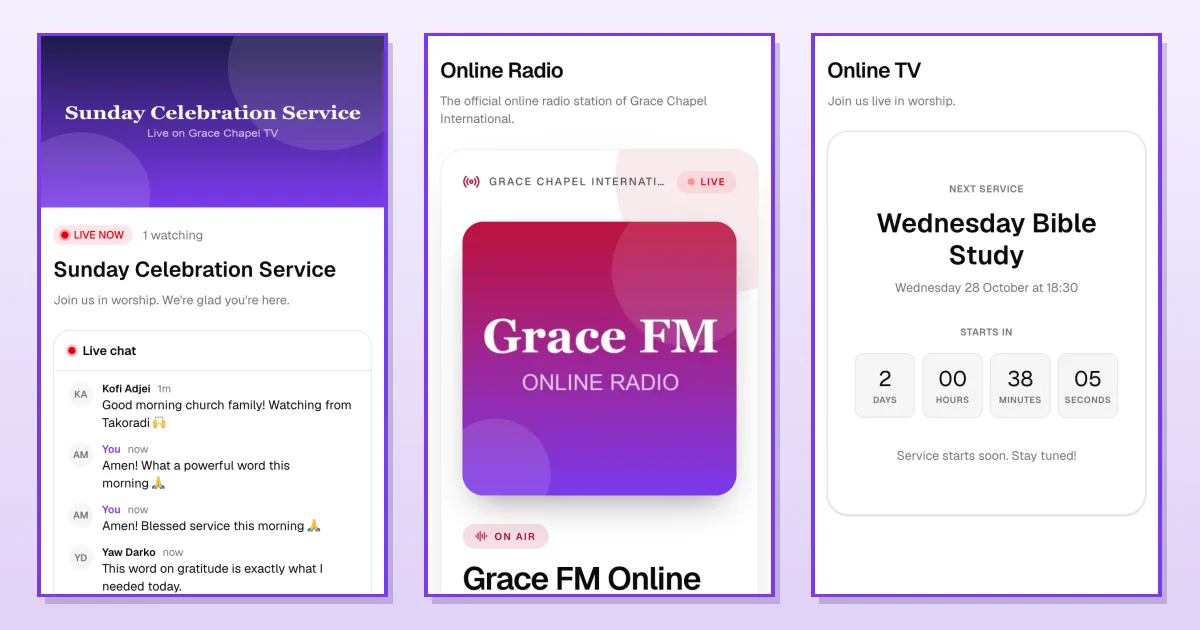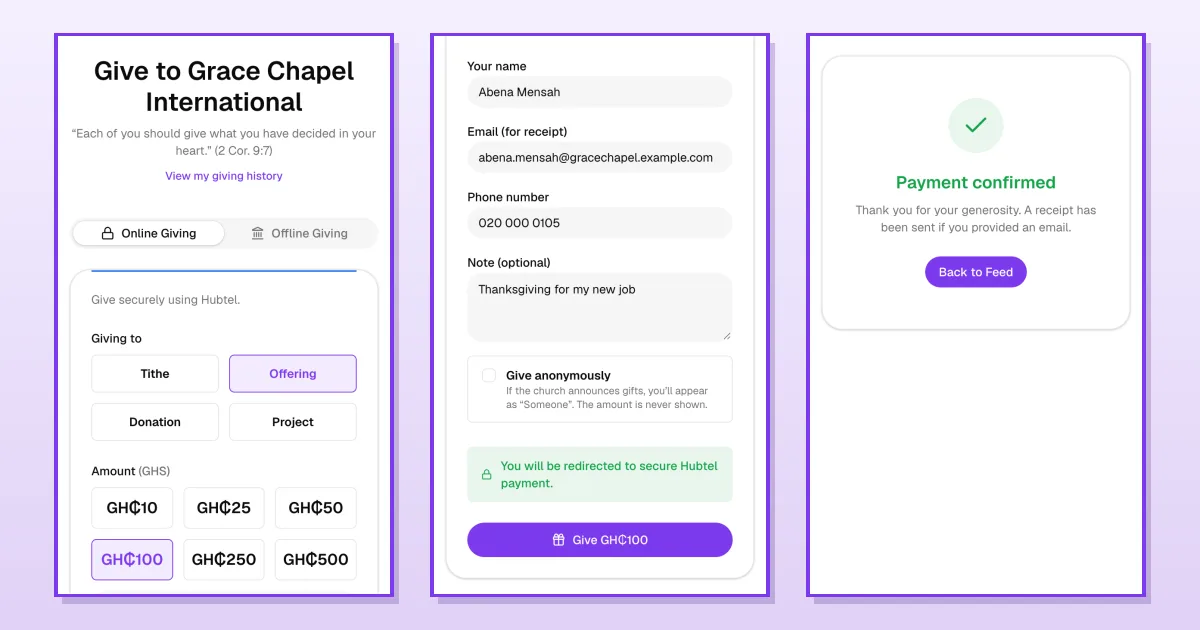
Groups help your members find their place: the choir, youth fellowship, women's ministry, ushers, home cells and more. In The Worship you create each group once, add your members to it, and members can browse your groups in the church app and ask to join. This guide shows you how.
Before you start
- You need to be the church admin or a staff member with the groups permissions ("Create groups", "Edit groups"). Approving join requests needs "Edit groups".
- To put people in groups from the member list, you also need to be able to edit members.
- Optional: a group photo or banner (JPG or PNG) to make the group stand out.
Step 1: Open Groups
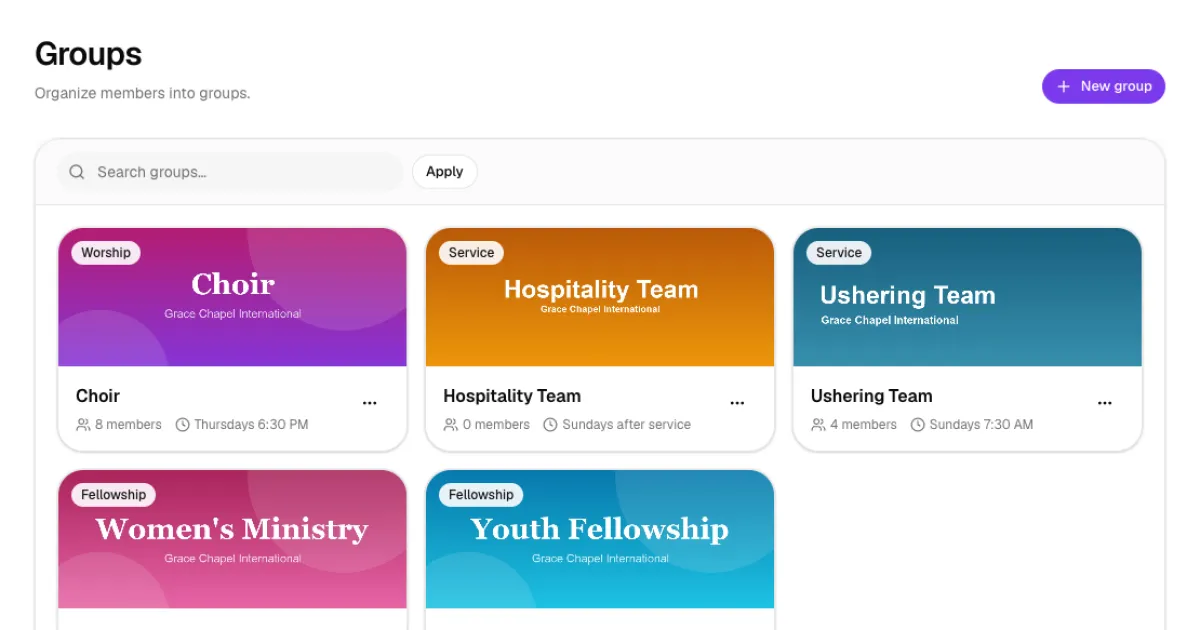
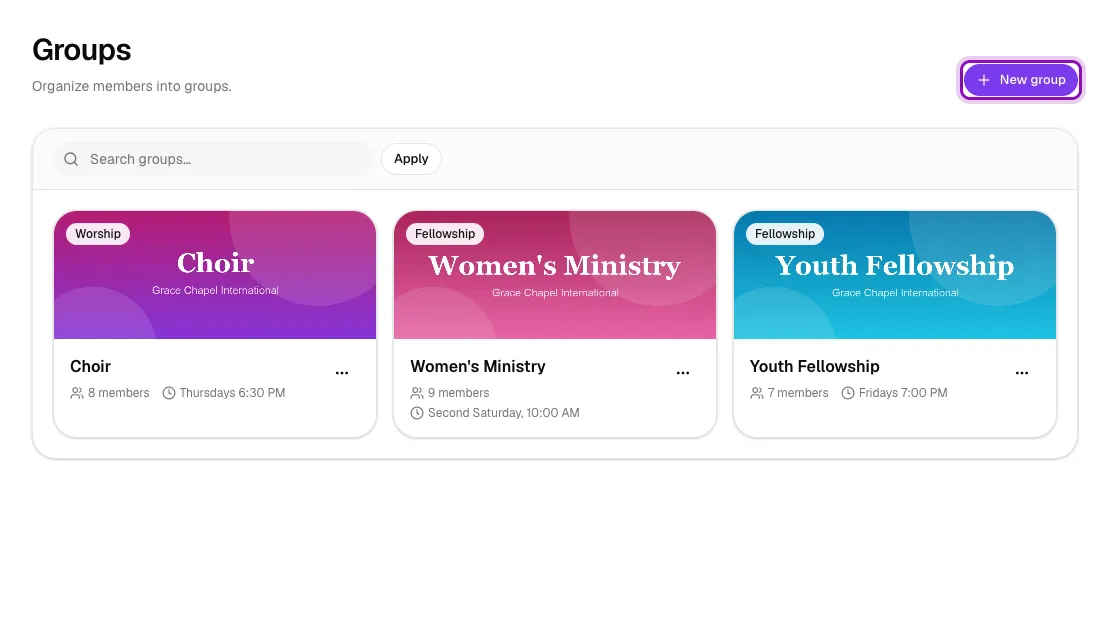
In the left menu, go to Church → Groups. You see all your groups as cards, with their category, real number of members and meeting time. Use Search groups… to find one quickly. Click New group to add one.
Step 2: Fill in the group details
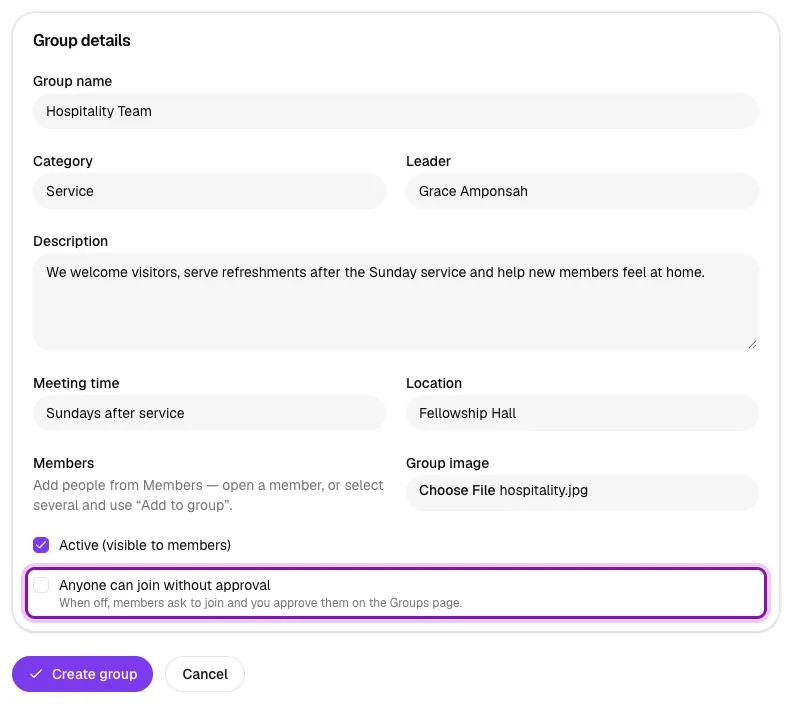
On the New Group page, fill in:
- Group name, for example Hospitality Team.
- Category, for example Youth, Women, Prayer or Service. Members can filter groups by category.
- Leader: the name members should look for.
- Description: what the group does and who it is for.
- Meeting time and Location, for example "Sundays after service" and "Fellowship Hall".
- Group image: an optional banner photo.
You don't type a member count: The Worship counts the people in the group for you. Keep Active (visible to members) ticked so members can see the group.
Then decide how people join. Leave Anyone can join without approval off if you want to approve each new member (members ask to join and you approve them on the Groups page). Tick it for open groups that anyone can join straight away. Click Create group.
Step 3: Check your new group
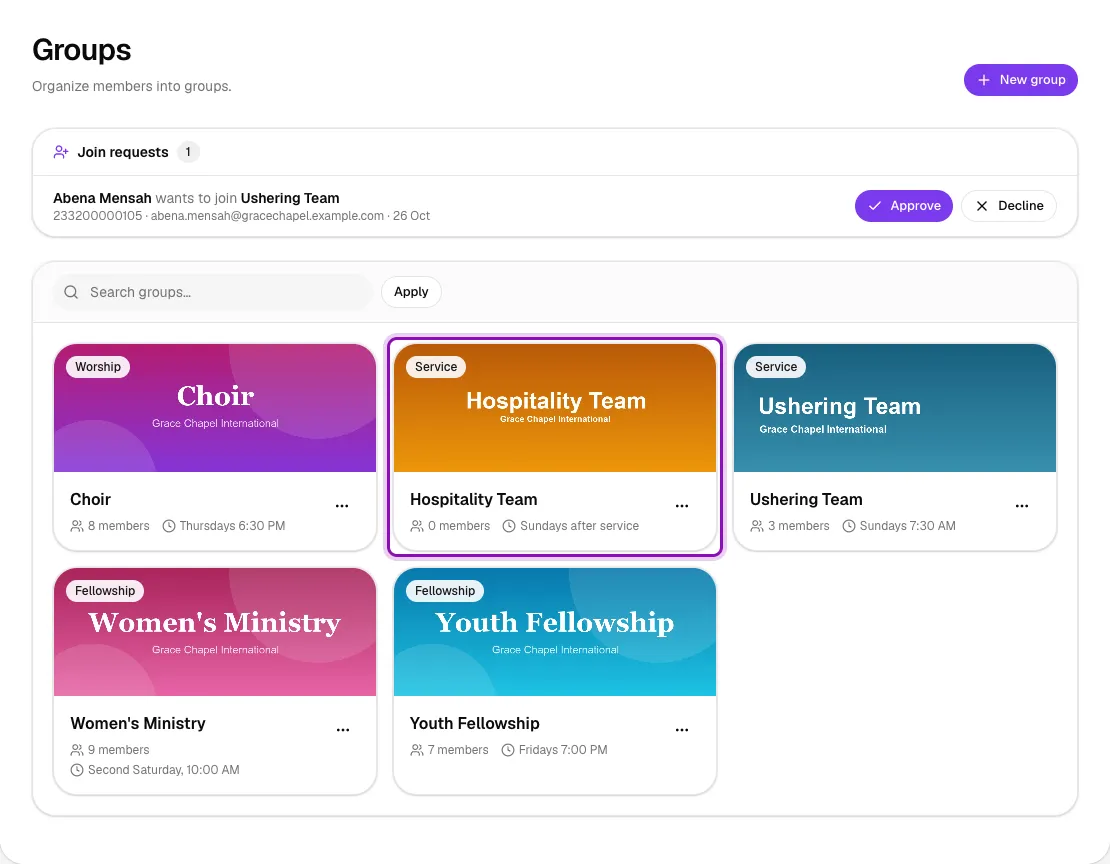
The new group appears on the Groups page with 0 members until you add people. Use the … menu on a group card to Edit or Delete it later. Deleting is permanent.
Step 4: Add members to the group
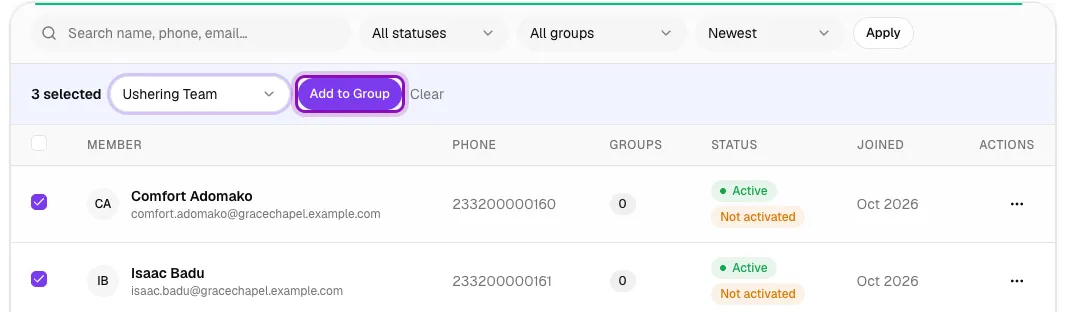
You can add people yourself from your member list, several at once:
- Go to Church → Members.
- Tick the boxes beside the people you want to add.
- Choose the group in Add to group… and click Add to Group.
To change the groups of one person, open their profile (View), click Manage Groups, tick or untick groups and click Save Groups.
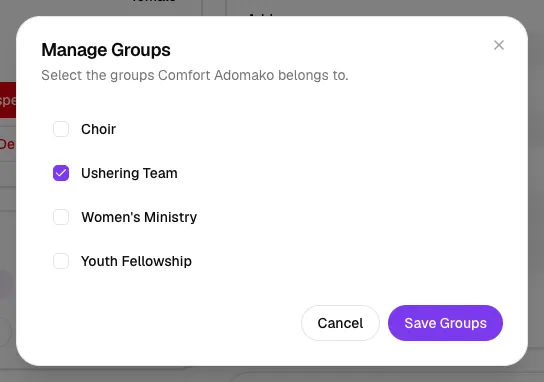
The member count on the group updates straight away. You can also filter your member list by group (the All groups drop-down) to see who belongs where.
How members see your groups
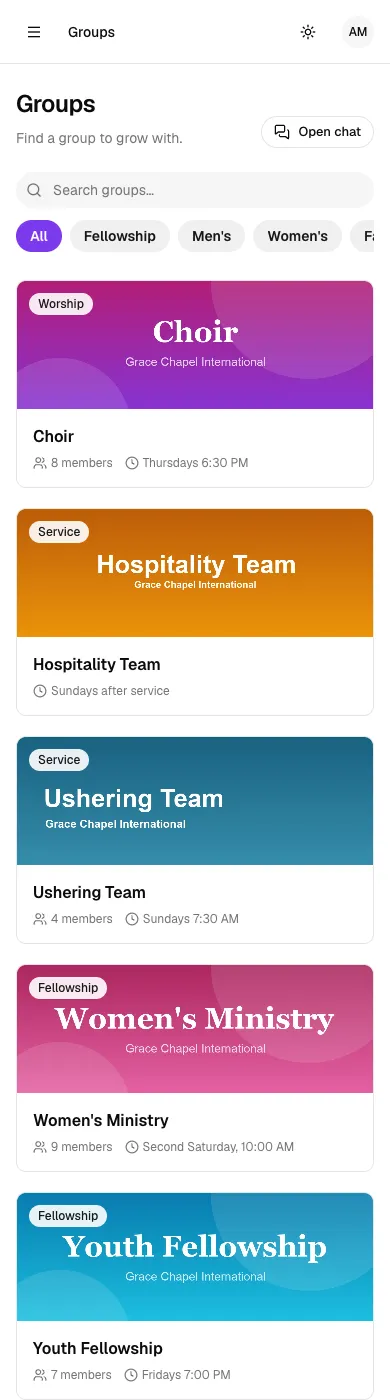
Members open Groups in the church app to browse every active group. They can filter by category, search, and tap a group to read about it: who leads it, how many members it has, and when and where it meets.
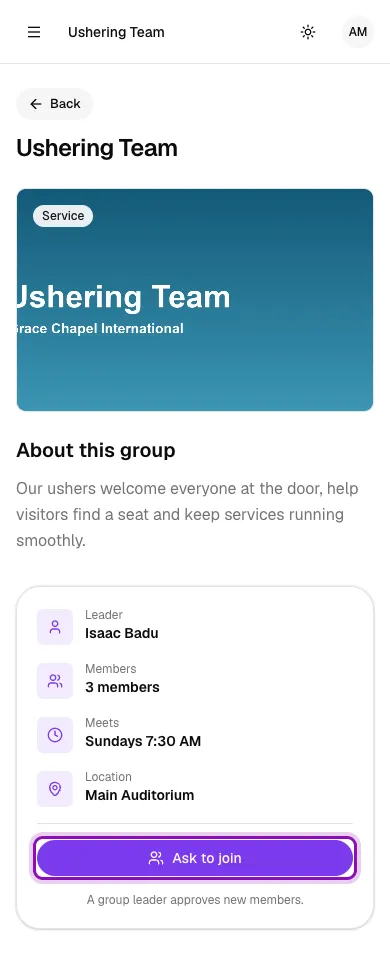
On a group's page, members tap Ask to join. For an open group the button says Join group and they join at once. Otherwise they see Request sent and can withdraw the request until you answer.
Step 5: Approve join requests
New requests appear at the top of Church → Groups in the Join requests card, with the person's name, contact details and the group they want to join. Click Approve to add them to the group, or Decline if they shouldn't join. A declined member can ask again later.

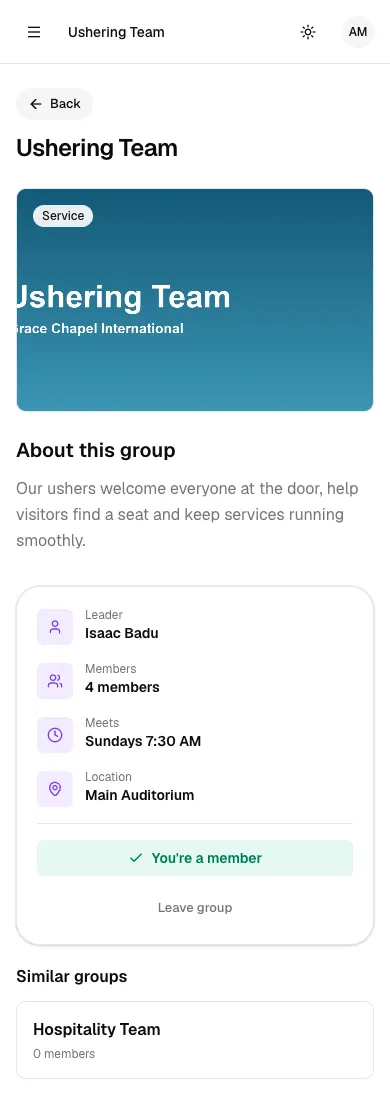
Once approved, the member sees You're a member on the group's page, and the group's member count goes up by one. Members can leave a group themselves with Leave group.
Tips
- Use short, consistent categories (for example Fellowship, Worship, Service, Youth) so the filters stay tidy.
- Make friendly, open groups such as a fellowship "join without approval", and keep serving teams such as ushers or choir on approval.
- Untick Active to hide a group from members without deleting it, for example during a break.
- Need a place for a team to talk? Create a chat group for them (see How to chat with members and staff).
Troubleshooting
Members can't see a group.
Edit the group and make sure Active (visible to members) is ticked.
The "Add to Group" button is greyed out.
Choose a group in the Add to group… box first. The button only works once a group is picked.
I don't see the Join requests card.
The card only appears when someone is waiting. If members join some groups without asking, check whether Anyone can join without approval is ticked for those groups.